It is the end of the year and this project is finally over. Overall, I feel like this was more successful than my first project. I think I was productive and learned more, so it went pretty well. I also feel like the presentation went better too since I was more prepared than last time, but I still think I spoke a little too fast. Also, I struggled with using the mouse for some reason.
Anyways, the skills I learned in this project could be useful(?) sometime in the future if I need to sew something.
I decided to start my final presentation today, because last time I waited until the very end. I still have around a week. I plan to put the photos of my progress on the projects and bring the completed project to class.
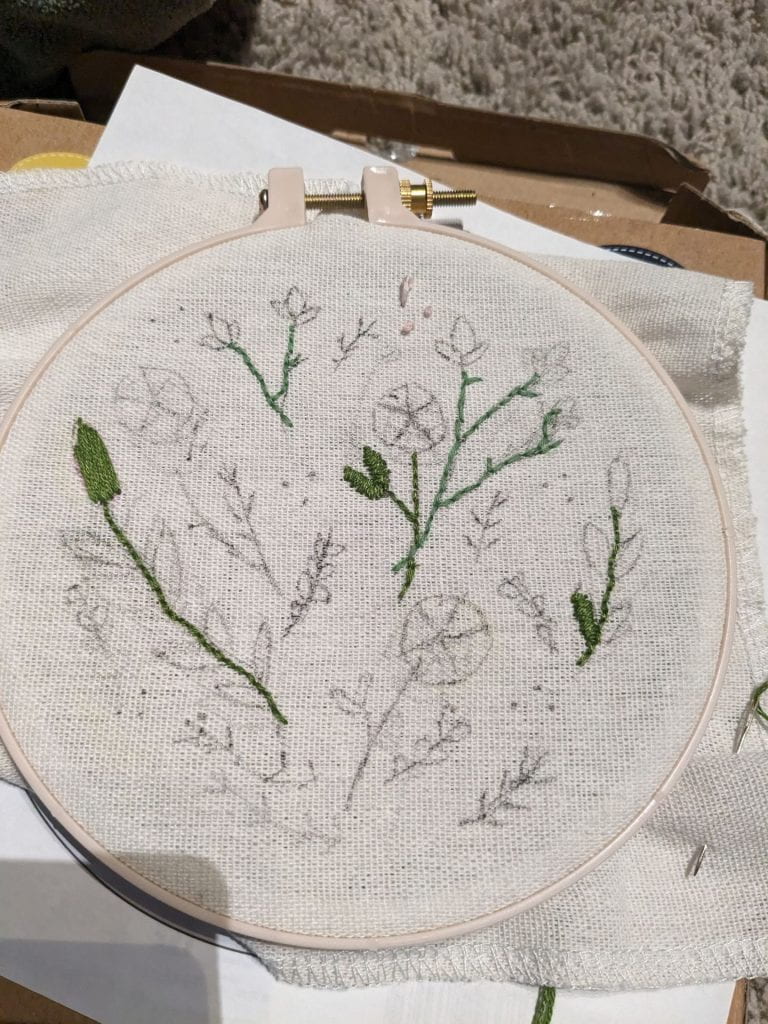
Speaking of the final project, I am currently working on adding the smaller details, like the French knots and smaller branches and leaves, which is part of the floral design. If I manage to finish that, I will bring it too.
adding French knotsunfinished sections
To finish it before the presentation, I need to pick up the pace. I am actually going to work on the project right now and not get distracted.
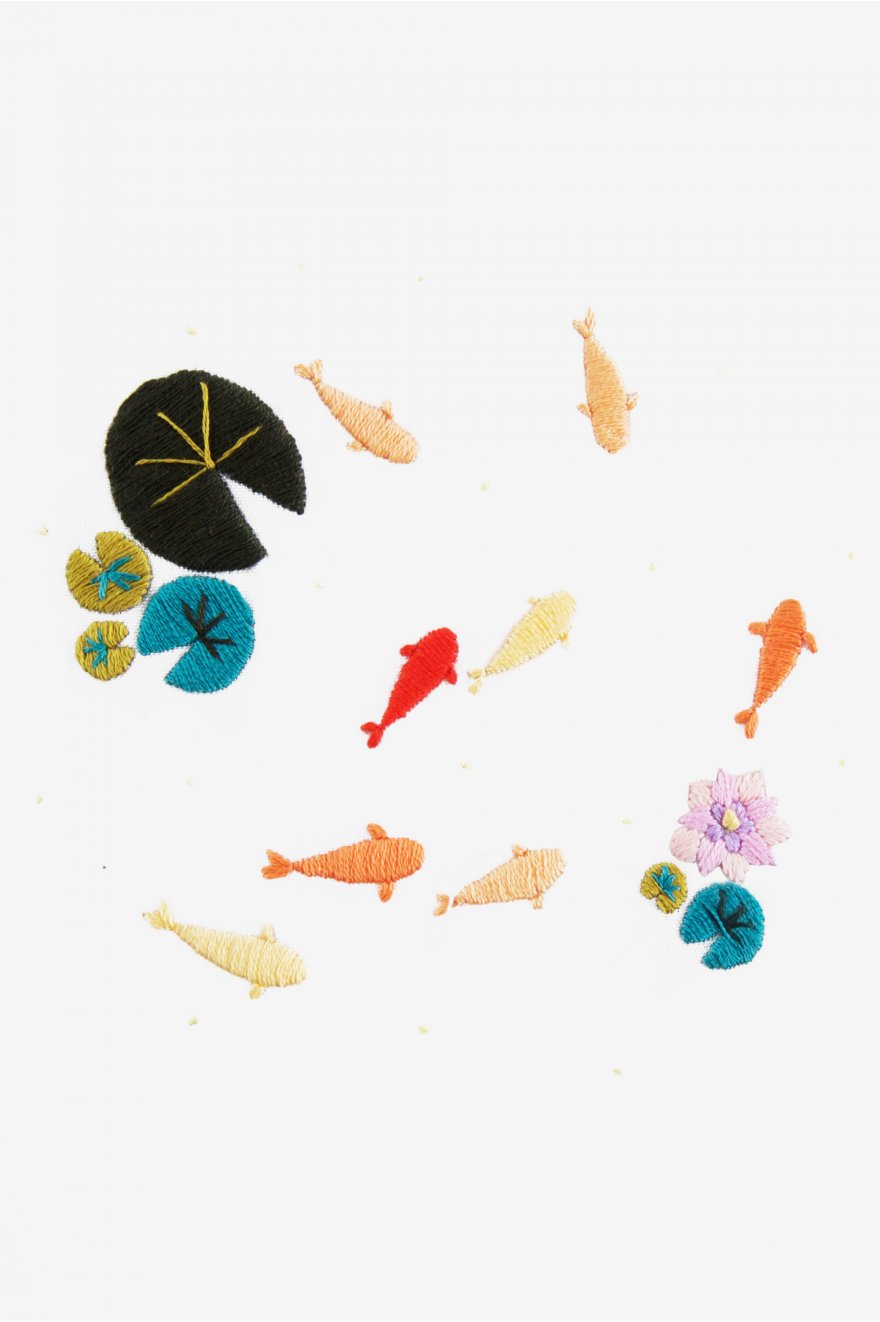
This week I worked more on the koi pond pattern. I worked on the stitching for the lily pads. I also noticed that it was hard to satin stitch the lily pad shape around the details on it.
I used a French knot to create the center of the flower, and surprisingly, it did turn out pretty good. lily padsOverview of the whole project
Earlier, I tried the embroider one of the koi, but it looked funky, so I removed the stitches. I will try again, but I think that I should do the fins and tail separately.
Later, I got tired of working on this pattern so I switched back to the floral design, because I have commitment issues. I worked on the two other woven wheels. I found that it was a lot quicker and looked better while using 6 strands of floss. Most other designs only use 3 strands.
In addition to that I also contacted another expert on Instagram: an Edmonton based artist named Muriel Mapa going by the username “nakedandfrayed” on Instagram. I asked her for some tips for a beginner embroiderer.
She told me to use a kit, which I’m already doing, but I will try watching some videos on YouTube as well.
I want to finish at least one of these projects for the presentation. I also need to start a slideshow.
This weekend I decided to start a new embroidery pattern because I did not like the other pattern because it was too hard. I found a koi pond pattern from DMC so I decided to work on it because the site said it was easy. It uses a lot of satin stitches, which will be helpful to improve my satin stitching.
To begin with, I printed out the design onto a piece of paper, then traced it onto fabric using a Pilot pen and a lightbox to see the design.
what it’s supposed to look likewhat it looks like after tracing
A problem I noticed is that what I traced is a mirror of the design, since the big lily pad in the finished project in is on the left, but when I printed out the transfer pattern, it was on the right side.
This week I didn’t work too much on my embroidery. However I am finding that I am not really feeling like doing it. I am getting tired of doing this pattern, so I might look for a new embroidery pattern to do. However, a problem I have is I do not have any other embroidery fabric, other than black embroidery fabric which will be hard to mark.
I have decided to browse google for a new design. I am not sure what I want to do, but I hope to find a fun design soon.
I found a great site for embroidery tips and patterns: crewelghoul.com.
Copying a design:
Here is some information regarding transfer of an embroidery pattern onto fabric. To begin with, print out a the design onto a paper. Using a lightbox is helpful for transferring a design onto the fabric. After completely transferring the design, you’re ready to begin!
I found an embroidery pattern on a site. The site says it’s good for beginners, so I will attempt it. Here is the website: https://crewelghoul.com/blog/how-to-embroider-a-daisy/
I’ll start working on it as soon as I can get it printed out.
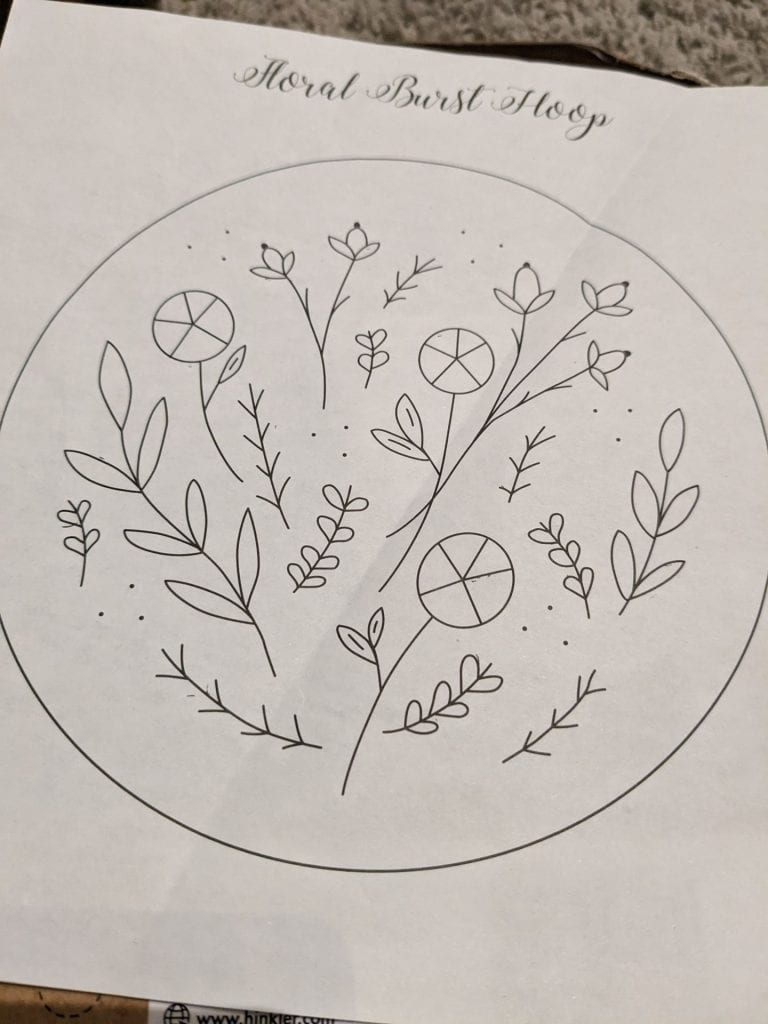
As mentioned in a previous blog post, I learned how to do the woven wheel stitch. In the current embroidery project I am working on, the flowers are made from woven wheels with five “spokes”. This is in contrast to a book I read Mary Thomas’ Embroidery Dictionary, which said that woven wheels use usually seven or nine “spokes”. The book that came with the embroidery kit said to create five spokes.
Some problems I had while doing this stitch are making the spokes equal lengths. Another problem is making the stitches the same size. If they aren’t around the same length, the stitch will look a bit odd in the end because the some of the spokes are still visible.
As you can tell the stitch is smaller than my copy of the traced embroidery pattern. It is a lot too small. To fix it I think I should just make the stem longer. For the other woven wheels I will try to copy the size of the design to make the stitches the correct size.
Working on the design
Overall I still have to improve my skills on this stitch for the embroidery pattern. I still have lots to do to complete the embroidery project.
So far, I think I am a little behind on my project, I do not have as much project on the embroidery hoop project as I wish I had.
Completed Tasks:
I read some embroidery books
Contacted an expert
learned basic stitches
started a project
Uncompleted tasks
finish a project
learn slightly more complicated stitches
Maybe try doing a slightly easier project with felt
For the presentation I plan on bringing the embroidery hoops or showing them as pictures. Since we have a long weekend in May, that should be plenty of time to work on the projects. The weekends and after school should be enough time to work on projects, unless I procrastinate.
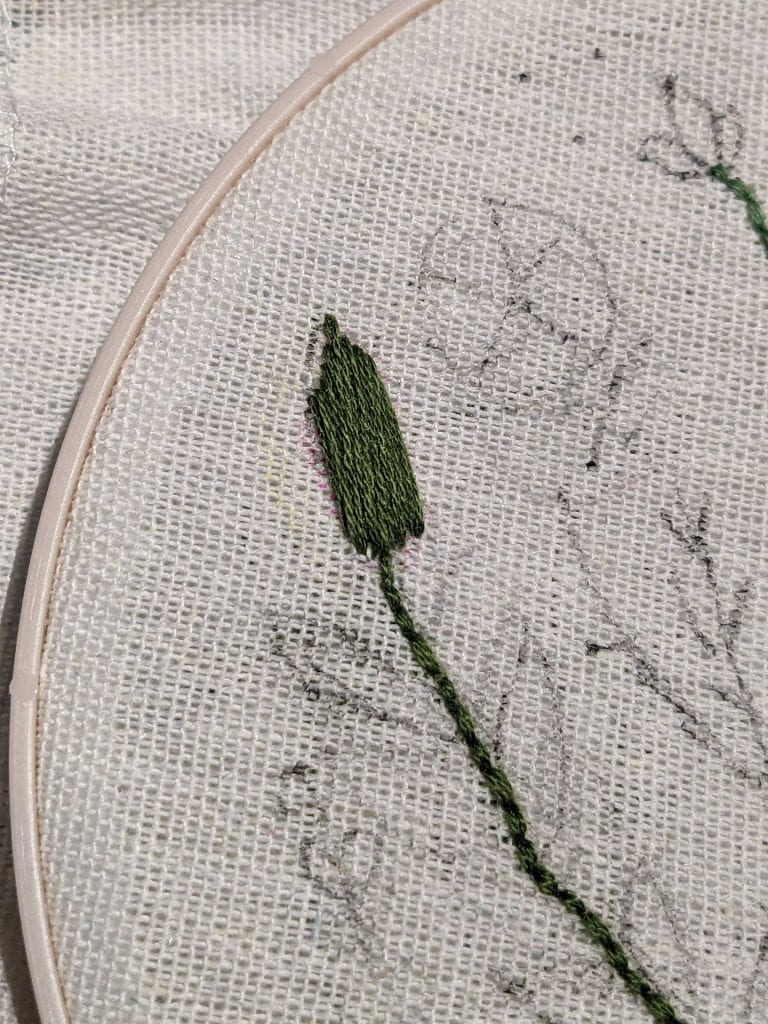
During this long weekend, I worked more on the floral burst pattern, but I still don’t have too much progress on it. I worked more on the plant stems and leaves.
Current Progress
As you can see, the plant stems look very unnatural because of the crookedness. If I have time I might redo the plant stems.
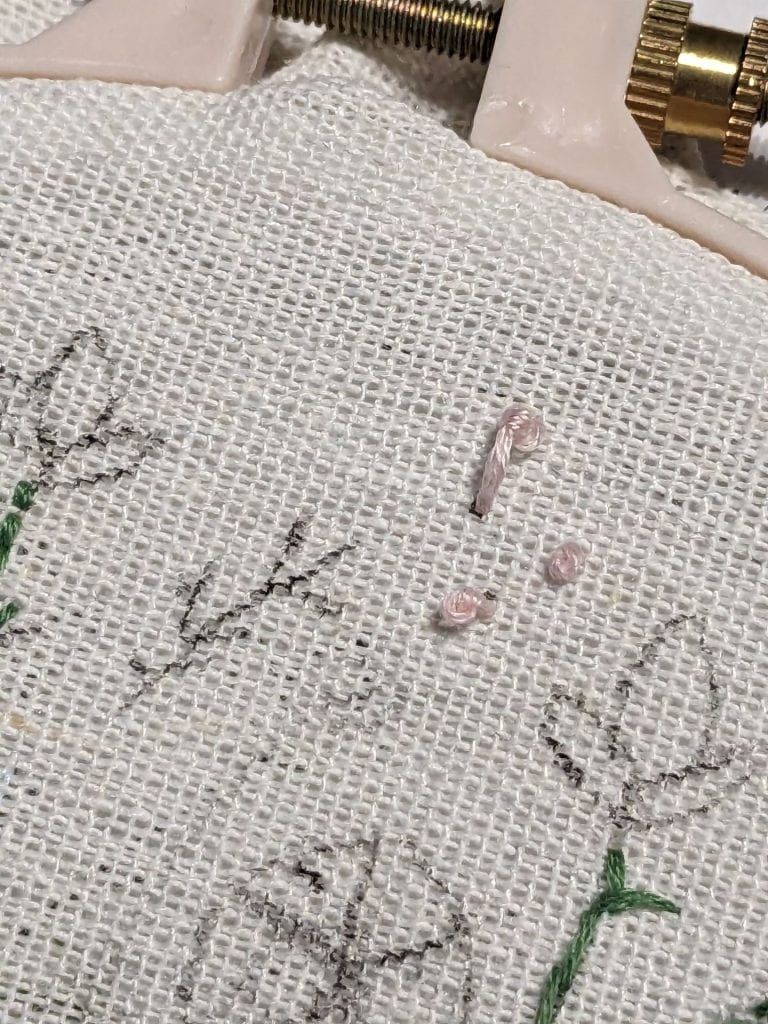
Another problem I had was with the French knots. I saw while reading an embroidery book that you should individually do French knots, but I did all of the knots without cutting the thread. Later, when just one of the knots fell out, all three knots had to be cut out.
French knots
Also, I learned that you shouldn’t make satin stitches too long, or else the stitches will look unnatural and makes it hard to fill the shape. I read in Mary Thomas’s Embroidery Dictionary that when making large shapes you should either make the stitches shorter by going half the distance, or by doing a long-short stitch.
strange looking satin stitchEmbroidery design
Above is a photo of the original design. The circles that are divided in five are where the woven wheel flowers go. I traced the design onto the fabric by using a light box.
Right now I am planning on finishing the stems and leaves then I’ll work on the flowers. Lastly l will do the French knots, which I think are the most challenging part of this embroidery project.
Since I learned most of the basic stitches used to create simple projects, I decided to actually start doing an embroidery project. I chose a pattern from the embroidery kit I already had at home. I started by tracing the design onto the embroidery fabric using a light box and a pencil, but I found that I couldn’t really draw on fabric that well using pencil. I decided to use a black Pilot Pen, which was easier to draw with, but it still didn’t draw as easily. The instruction book said to use a washable fabric marker, but I couldn’t find any in my house.
Close up of drawing
I started with back stitching the stems and satin stitching the leaves. I also wanted to do the flowers, but my thread kept getting tangled so I decided to do it later.
I started working on this project on Thursday, and continued it on Friday, but I still don’t have much progress. I tried not to get too distracted while embroidering, but doing it with nothing in the background was kind of tedious.
current progress
The instruction book said to add the French knots at the end as finishing details, but I decided to add them at the beginning for some reason. That was a horrible idea, because they kept falling out and I kept messing up. Whenever I worked on the knots I found that many of them fell out or got pulled through the fabric.
Failure at doing French knots
I definitely am still struggling at doing French knots, but I think that if I practice enough I’ll improve. This week I plan on doing more of the back stitch stems and work on the flowers and leaves.
To begin learning embroidery, I decided to learn some basic stitches.
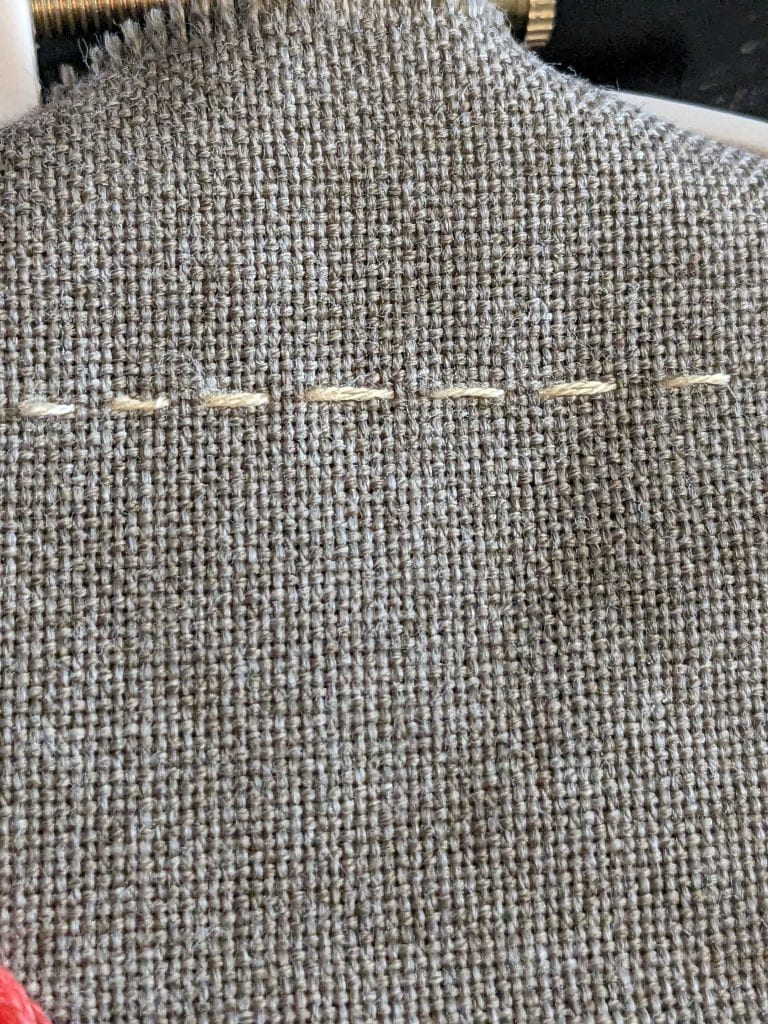
I decided to start with running stitch, one of the most basic stitches commonly used in sewing, since it’s one of the easiest stitches.
Running stitch
I drew a line to follow while backstitching, but I didn’t follow it, resulting in a crooked line. The individual stitches were also different lengths.
After that, I decided how to learn how to do backstitch, also commonly used, and satin stitch.
Back stitch
Satin stitch is created by a bunch of close stitches used to fill in a shape. My first attempt was okay, but I noticed that the stitches were very uneven, likely due to shaky hands.
Satin Stitch
I also learned how to do split stitch as well. For split stitch, I read how to do the “stab” method. It starts out with a straight stitch, then you push out of the bottom in the middle of the stitch.
Split stitch
I also learned how to do the woven wheel stitch. You start by using straight stitch to make five “spokes”, then alternate pulling the string over or below the spokes. I thought this stitch would be challenging, but it was easier than I thought it would be. This stitch is useful for creating flower shapes.
I also learned the stem stitch which is somewhat similar to the split stitch. I encountered some troubles with this, especially at the bend of the line.
I also learned how to do the herringbone stitch, but I noticed that the lines and the distances between the Xs are uneven.
Lastly, I decided to learn how to the French Knot. I tried it yesterday, but couldn’t understand the instructions from 3 books and multiple websites. However I found a video demonstration which helped a lot. I finally achieved some decent French knots.
French knot
With that, I can now do a basic embroidery pattern. I am thinking about doing a basic floral pattern from a book, or a felt cactus pattern.